

In this blog we will discuss the Burp web vulnerability scanning tool deployed in AWS coupled with the newly introduced transit gateway service in the Sydney region. Transit Gateway is a new feature announced by Amazon Web Service to simplify network connectivity within and across AWS accounts, it is a managed service that provides a hub-and-spoke model to connect AWS VPCs and data centres. This feature significantly enhances traditional security services like Firewalls and IPS, which were previously challenging to deploy due to limitations of services such as VPC Peering or PrivateLink.
Let’s explore how to deploy the Burp security tool in AWS while leveraging the Transit Gateway Service. Burp is a security tool which enables “Red Team Exercises ” to evaluate an organisations defenses and this functionality is now made easier in the AWS echo system because of transit Gateway.
How can security tools be Deploying Burp in Multi-Account Architecture?

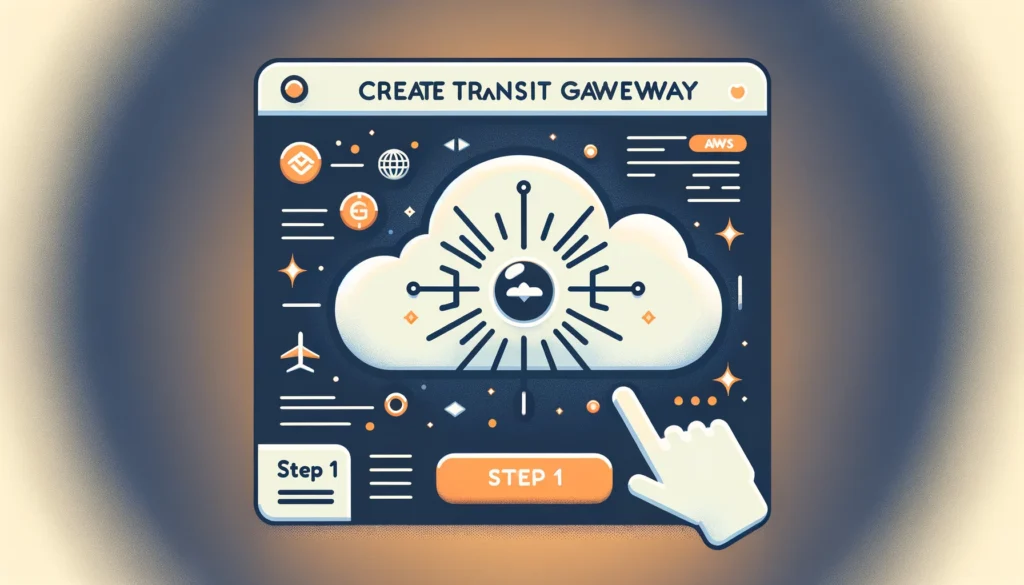
I am going to try and use a limited number of screen captures from the AWS console as this deployment can all be automated via cloud formation templates. I want to demonstrate how easy it is to create a Transit Gateway in AWS so let’s start with the steps required to enable this service between separate accounts in AWS, see the steps below:
Step 1: Click on “Create Transit Gateway”
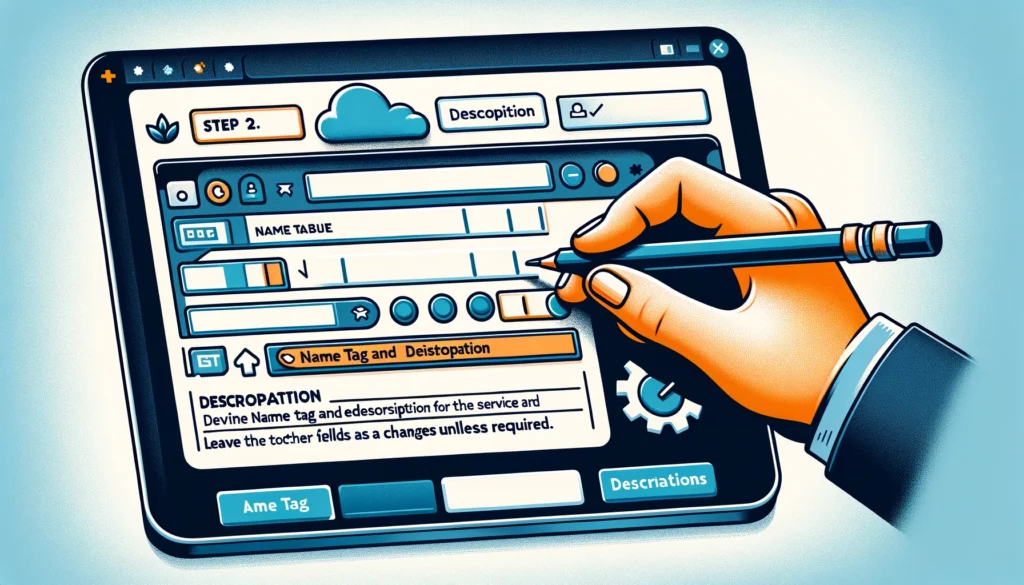
Step 2: Define the Name tag and description for the service and leave the other fields as the default unless changes are required.
Step 3: You have now created your Transit Gateway and have an assigned ID number.
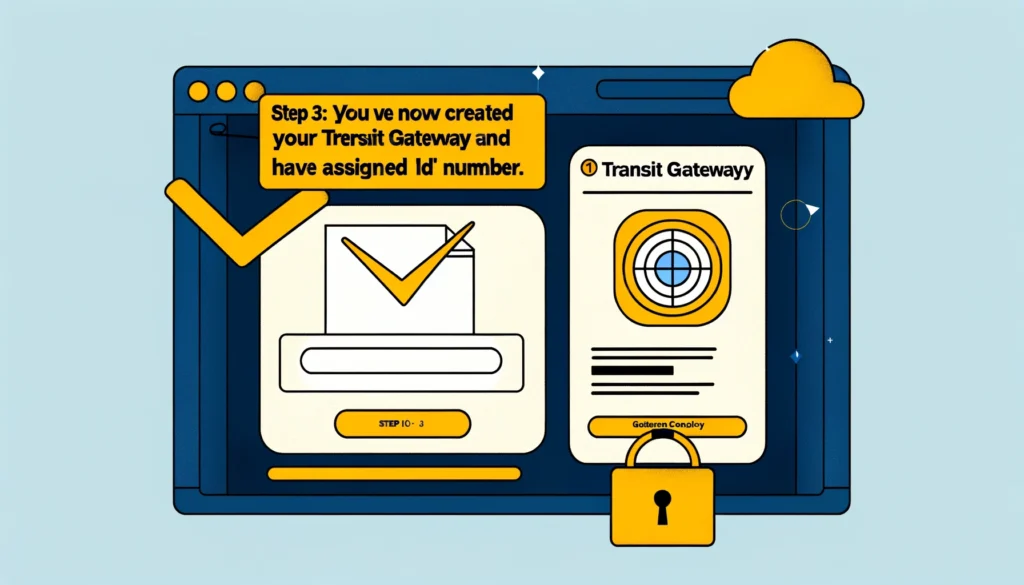
Confirmation screen in AWS management console indicating the successful creation of a Transit Gateway, complete with a visual checklist and an assigned ID number.
As you can observe, enabling this service is straightforward. Let’s proceed with the following steps to enable the transit gateway across different accounts:
- After creating the Transit Gateway, you need to attach it to the VPC where BURP is hosted by selecting the appropriate VPC.
- You will need to have ‘Default route table association’ and ‘Default route table propagation’ checked, it will automatically create a ‘Transit Gateway Route Table’ with Propagations and Associations.
- We want to connect workload VPCs to the Transit Gateway across AWS accounts within the same region. You will need to Share the AWS Transit Gateway with the accounts or at the AWS Organization level using the AWS Resouce Access Manager. Sharing with the AWS Organization would require a check in the settings of AWS Resource Access Manager in Master Account.
- Once Sharing is completed, client account that needs to be pen tested should have the Transit Gateway visible. VPC Dashboard -> Transit Gateway Section, the AWS Transit Gateway.
- Create the Transit Gateway VPC Attachment TGW-Burp-A by selecting the VPC that requires attachment to the AWS Transit Gateway.
- Select the Route Tables under VPC Dashboard, select the Route Table which has the subnet associated and then add the routes by adding the destination CIDR (For example, Shared Services VPC CIDR) and select Target as TGW-{ID}
- Similar setup should be done in Accounts B, C & D which would result in additional attachments.
- Now log into the Shared Services Account, and in the Transit gateway attachment, 4 VPC Attachment will be visible. That’s it! We should now have connectivity between the security service account hosting BURP and the other accounts. The same concept can be applied to other security services to provide a secure ecosystem in AWS, and this entire connectivity can and should be automated.